Airstream Compartment Lock Failure
If your exterior Airstream compartment locks are failing, it’s easy to swap them out and upgrade the look of your Airstream at the same time.
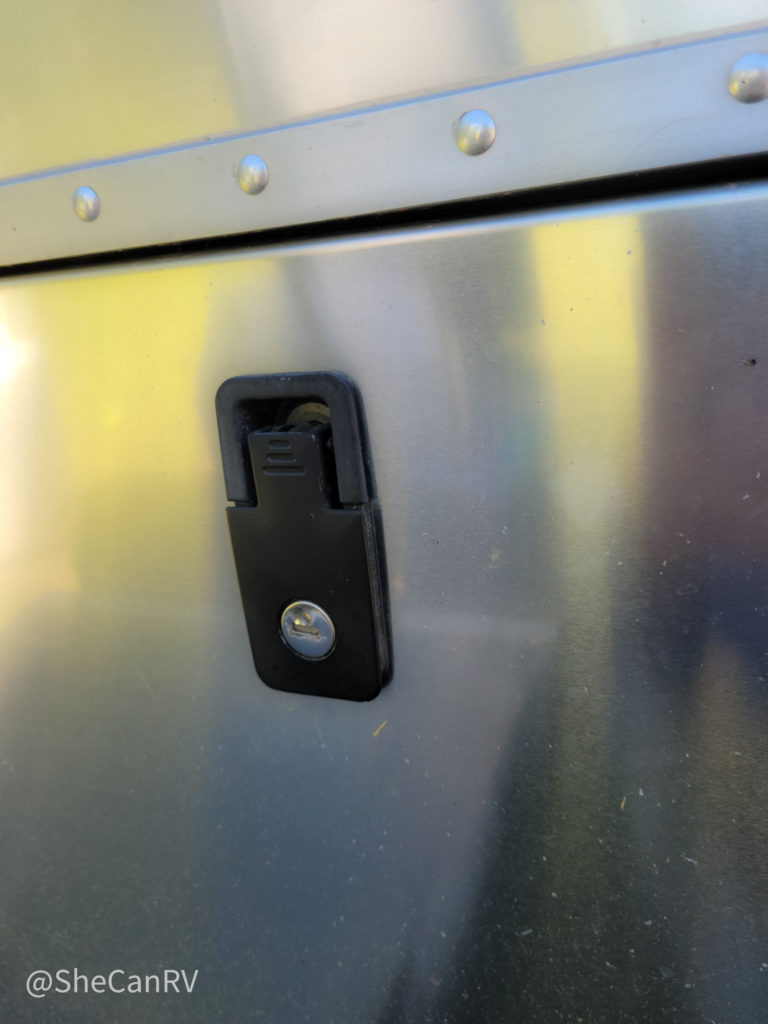
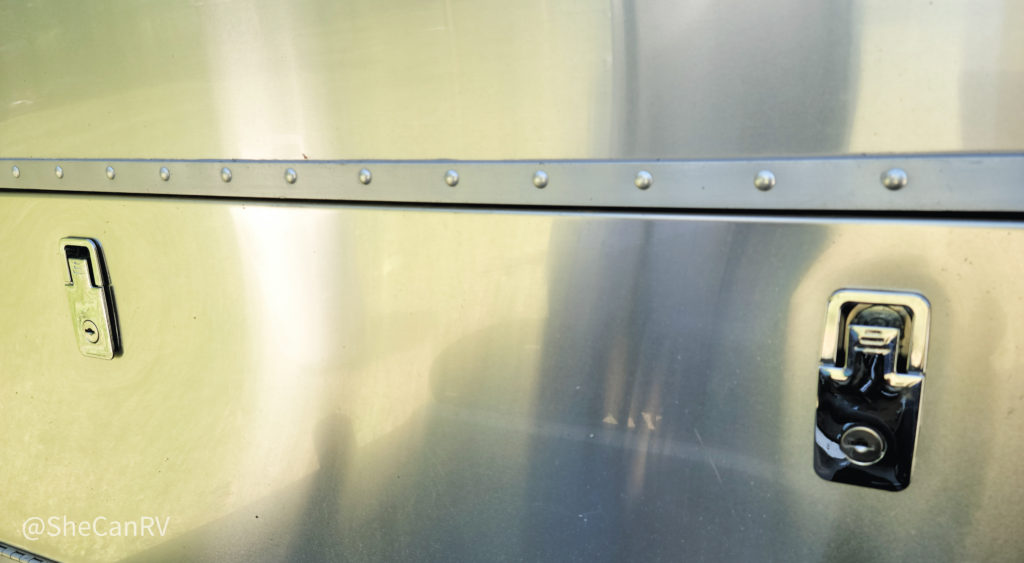
After several years of hard use, my Airstream compartment locks began to stick and sometimes even refuse to unlock. I eventually stopped locking them because I was concerned that I wouldn’t be able to access the things I store, like my power cord. That’s kind of a big deal.
Unfortunately, you cannot replace the barrel (the keyed part of the latch) individually. You must replace the entire latch and lock.
Where Do I Find New Replacement Latches?
When I decided to replace my latches, I found these beautiful chrome replacement latches at the Airstream Life Store. Little upgrades like this can really make your Airstream look sharp.
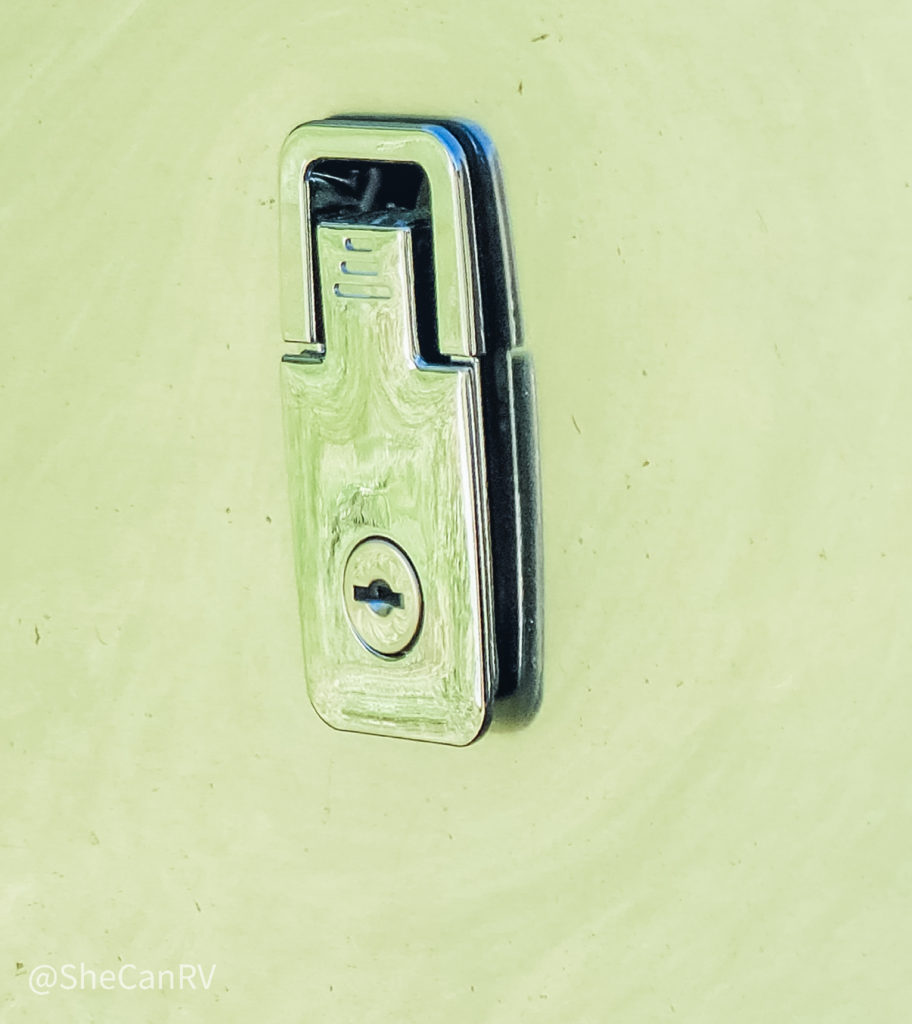
These are for model years 2015 through 2022 only. For older models, contact the Airstream Life Store directly.
These aren’t inexpensive at $50 each but they are high quality and solid. I ordered two for now and will do the other two soon.
Increased Security Is An Additional Bonus
This upgrade will also improve the level of security for the items you store in the outside storage compartments. Instead of the standard keys that fit millions of other RV locks, these latches come with different keys. If you order more than one latch, you’ll be able to use the same key on all of your latches.
Installation
Installation is easy too. I was able to do both of mine in about 10 minutes.
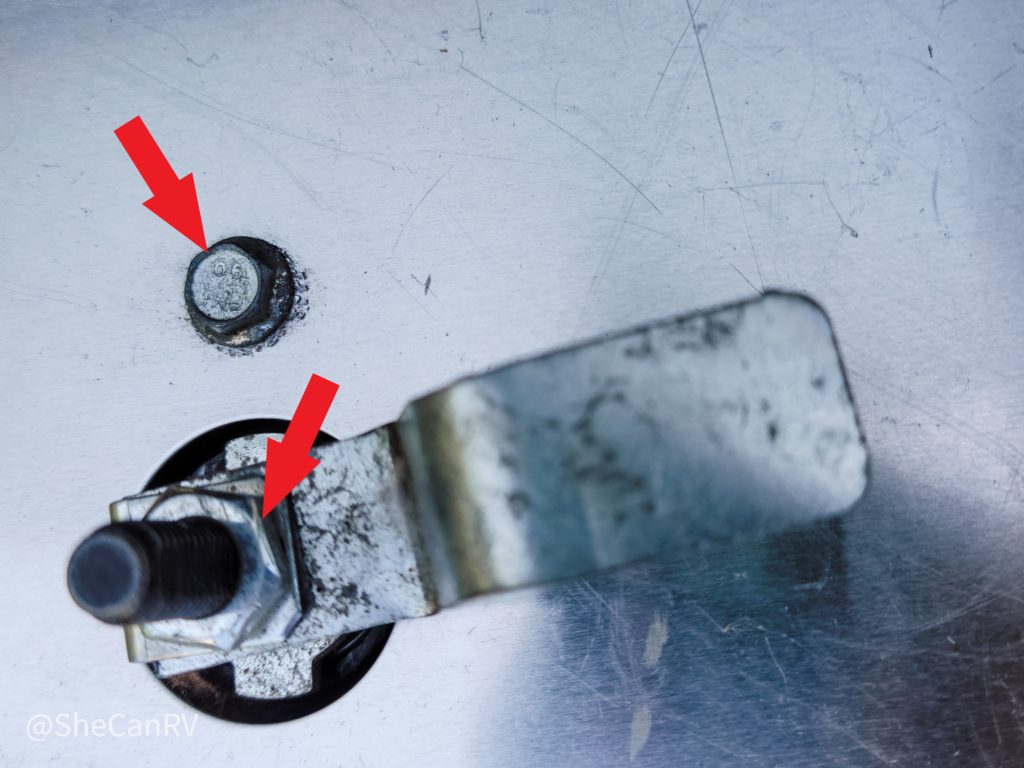
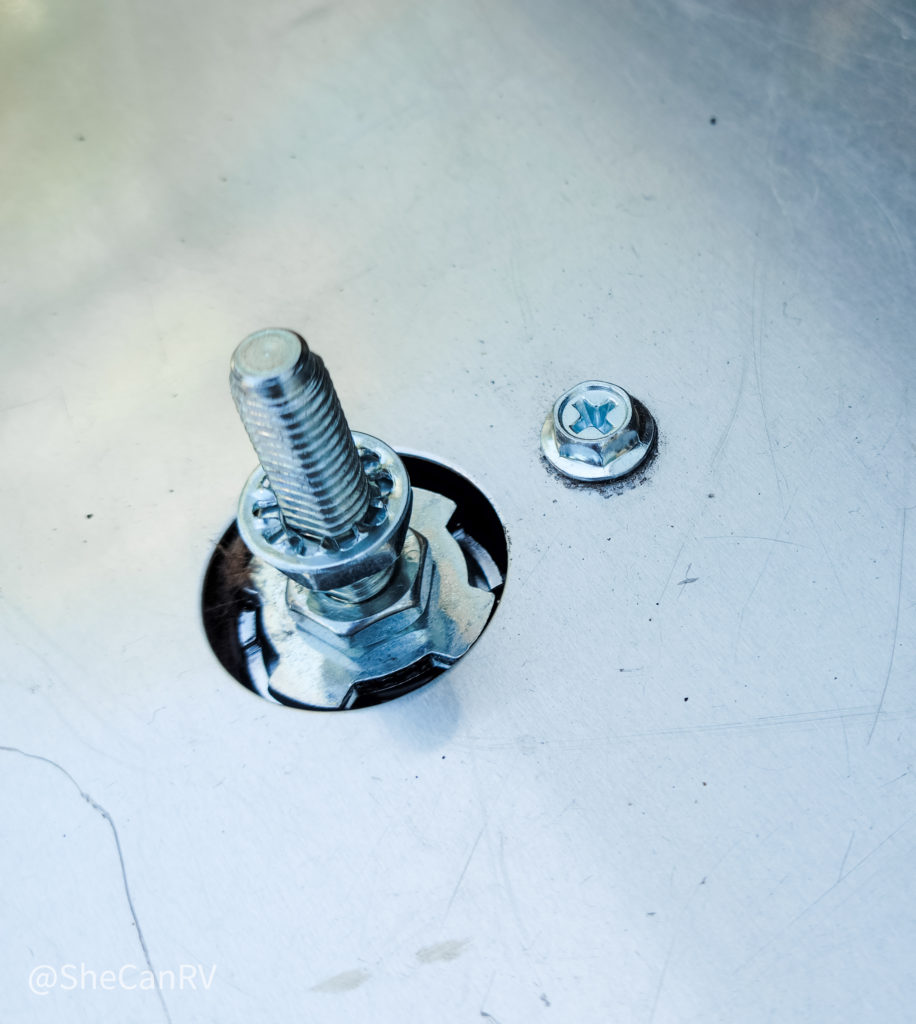
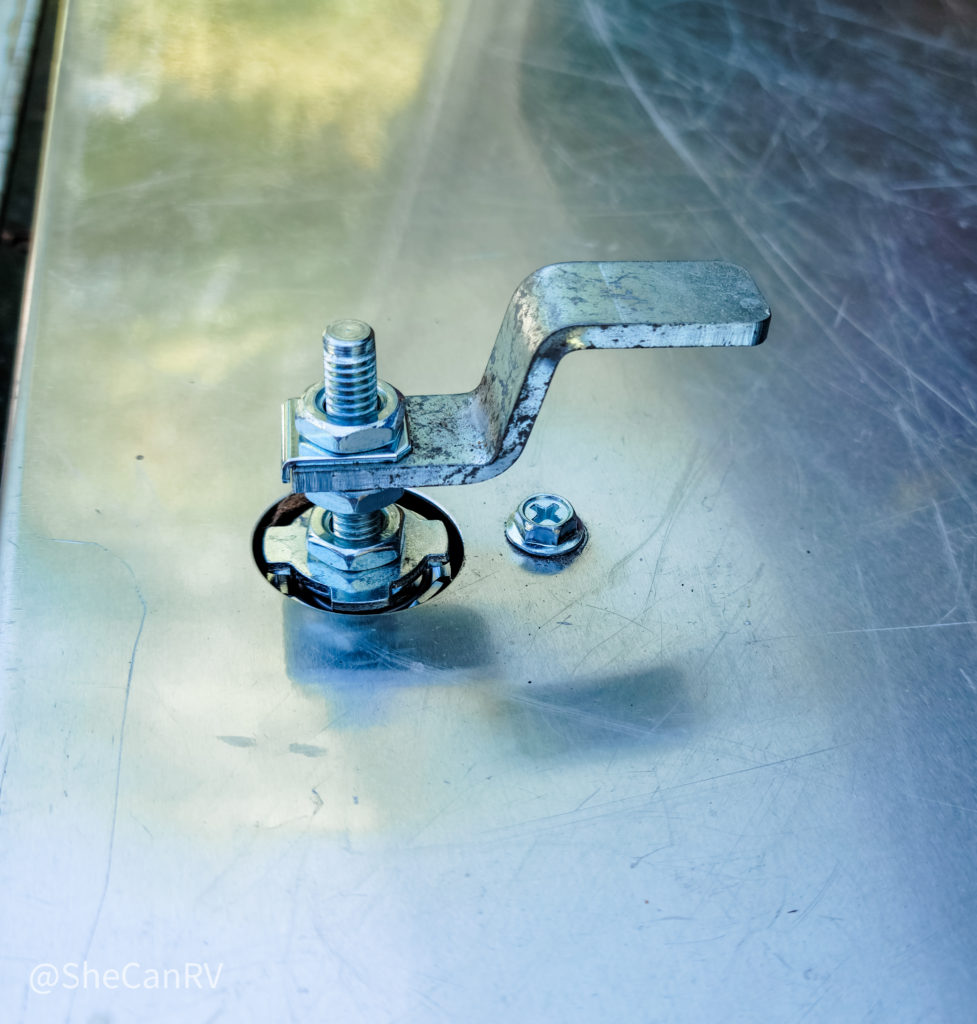
From the inside of the compartment door, remove the screw and nut indicated in the picture below.
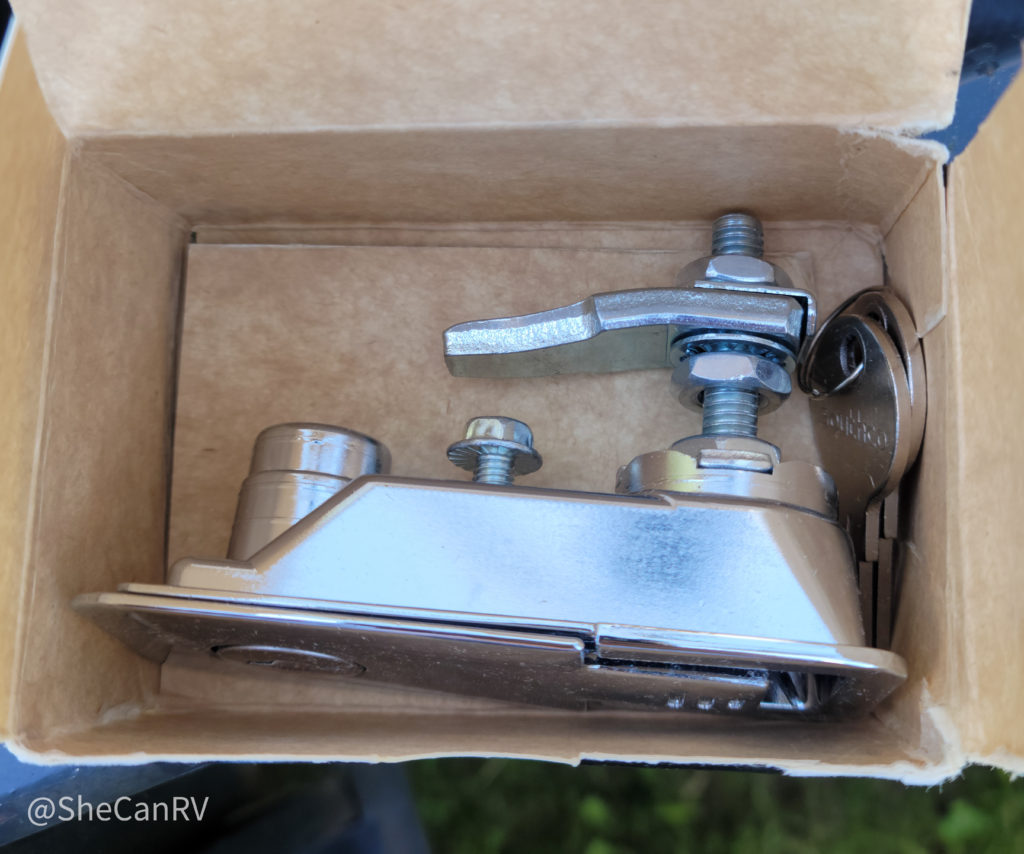
Remove the long latching bar pictured below. Note: I had to reuse the old one because the new one did not work with my particular Airstream model. The bar at the bottom of the picture is the one that came with the latch.
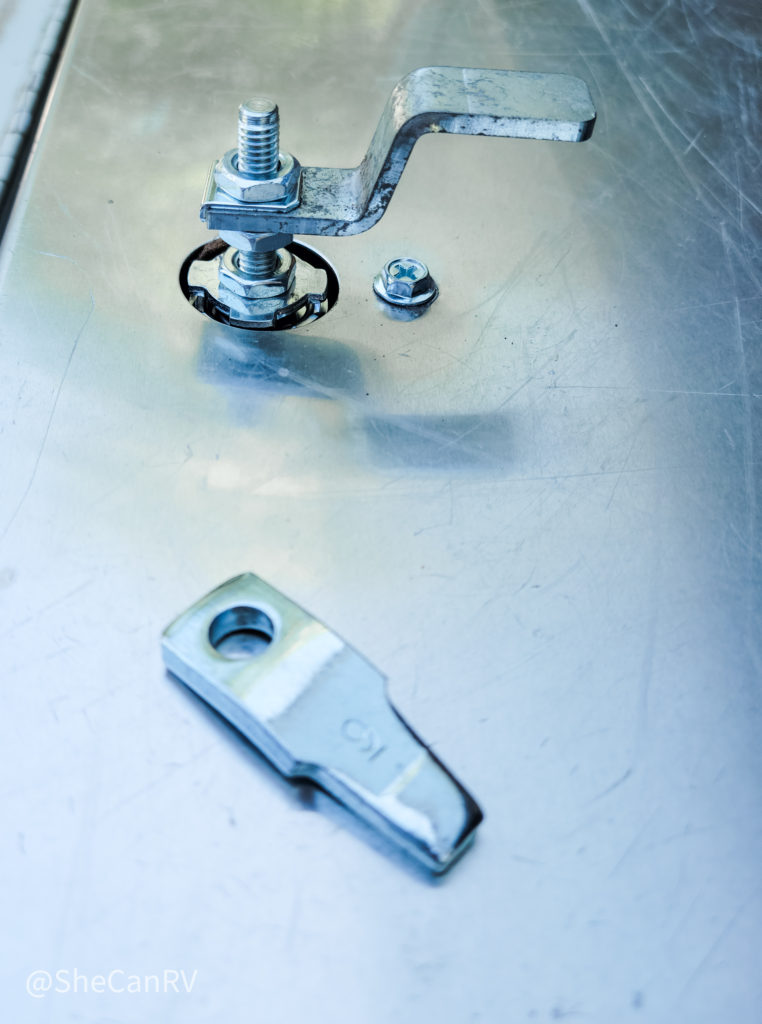
The old latch should just drop out at this point. Before you discard the old latch, remove the rubber gasket as you’ll need to reuse it.
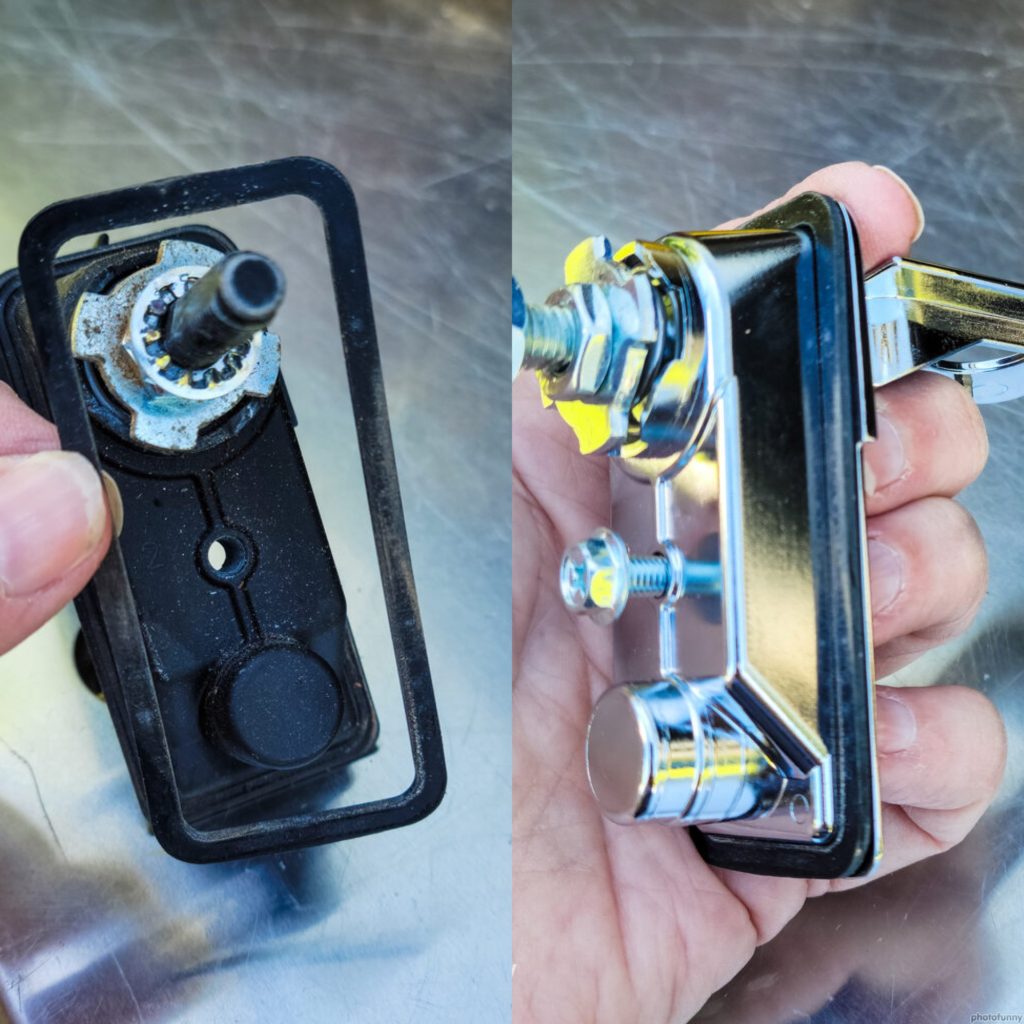
Next, remove the nut and latch bar from the latch and set them aside. Put the new latch in and insert the screw to hold it in place.
Now replace the latch bar (2 pieces) and the nut. Installation is complete!
There’s a video showing you exactly how to change these latches right on the product page.
You may also like, RV Water Inlead Leak – Easy Fix.
RV Water Inlet Leak – Easy Fix