Modern RVs generally have three types of RV holding tanks. Here’s what you need to know.
Fresh Water RV Holding Tank
Freshwater holding tanks allow you to bring water along with you. If you treat your tank properly and are cautious when adding water to your tank, it’s perfectly safe to drink although many choose not to. That’s your decision. You can sanitize your fresh tank by using a sanitizing treatment specifically made for this reason.
Aqua Water Treatment and Freshener

Some people choose to add a very small amount of bleach to the tank. I personally have not used this method but I’d do some research about safe amounts first.
When I am traveling I make sure to have at least a few gallons of water in my fresh tank to wash my hands and flush the toilet. I pull into rest areas for breaks but I use my own facilities.
When you are planning to dry camp you should determine whether you need to bring your water with you or if you can get it along the way. Water is very heavy. I have a 38-gallon freshwater tank. One gallon of water weighs 8.34 pounds. When my fresh tank is full I have added 317 pounds to my overall setup. I always consider the circumstances when making that decision.
If you would like to sanitize your freshwater holding tank using bleach, watch the following video and see how it’s done. How to sanitize your fresh water holding tank.
Gray Water RV Holding Tank
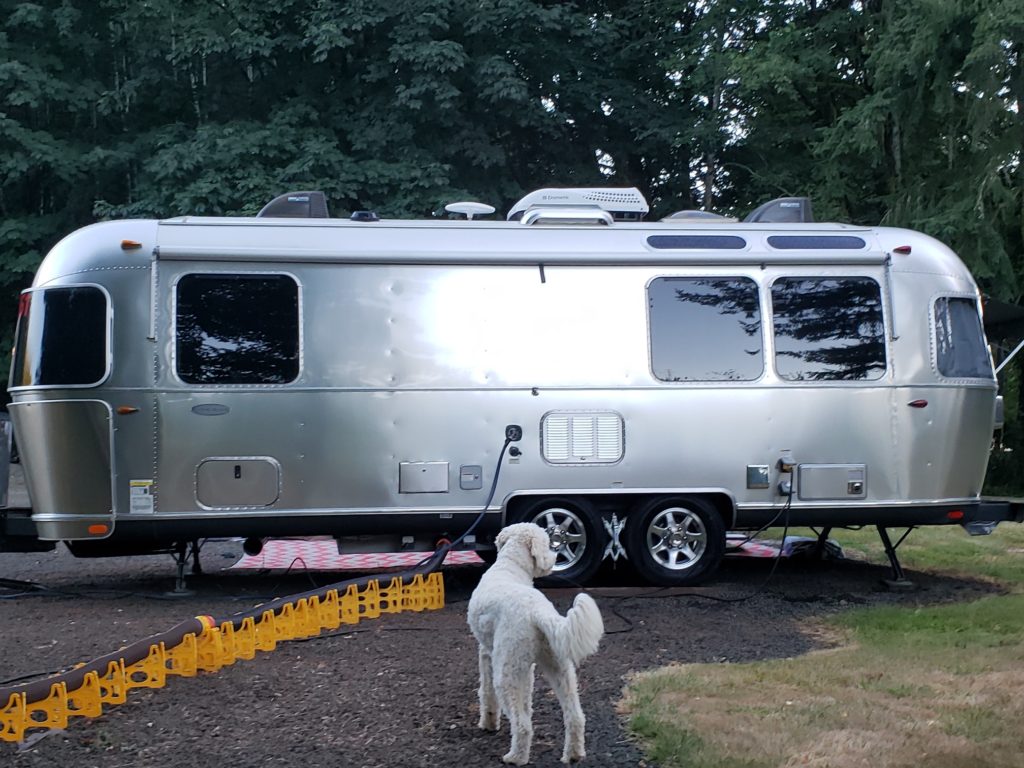
The gray water tank holds your sink and shower water. Some larger RVs have two gray tanks. My gray tank, like my fresh tank, is 38 gallons. Our 5th wheel had 100 gallon fresh and gray tanks. Generally speaking, the bigger the RV, the bigger the holding tanks.
Gray water tanks can get stinky and need some maintenance just like your other tanks. Dishwater often contains food particles and grease no matter how hard you try to prevent them from entering the tanks. Additionally, the drain plumbing can collect water and cause an odor. I also find when I am stationary for a while my gray tank’s odors are more likely. When you’re driving the water agitates the solids built up on the bottom of the tank and can be flushed out when you drain the tank.
Combat gray tank odors by using some of your black tank treatment in your gray tank. You can also pour a little into the sink and shower drains. This will collect in the p-trap and help with any funk coming from there.

I recently had an odor coming from my shower drain. I added some Happy Camper holding tank treatment to the drain so it would work in the p-trap but it didn’t make much of a difference. After some investigation, I removed Cousin It from the drain.
After the gain hairball removal, I cleaned the drain by adding about 1/2 cup of baking soda and letting it sit for an hour. Then I added 2 cups of white vinegar to the drain. This combination causes a chemical reaction and bubbles cleaning the drain and helping with the odors.
Black Water RV Holding Tanks
The black tank is where human waste goes. When starting out with a freshly flushed or empty tank add a couple of gallons of water and whatever holding tank treatment you choose. When your black tank reaches 75% capacity or more it’s time to dump. You can dump when it is less full if necessary but you want the pressure of a full tank to help move the waste out more efficiently.
Make sure you flush with plenty of water. If you don’t, you may end up with the dreaded poo pyramid. The water and holding tank treatment help it all break down into a consistency that is easier to flush out.
When it’s time to dump your black tank, hook up the flush hose if you have a built-in flush, turn on the water, and with the gray tank valve closed, open the black tank valve. Allow the tank to drain and flush water to wash out the solids. Turn off the flush water and wait for the tank to stop draining then close the black valve again. Add more water.
I often go inside and watch the tank level indicator. I like to get the tank about 50% full before I open it again.
Continue this process until the water draining from the tank is clear. Shut off the water, close the valve and release the gray water. Make sure you have a lot of gray water in the holding tank so you can release it immediately following the black tank flush and wash all the residual waste out of your sewer hose. Then add a couple of gallons of water to the black tank along with your holding tank treatment. I use Happy Camper.
Happy Camper RV Holding Tank Treatment

When storing your RV between trips be sure to store it with a thoroughly flushed black tank containing a couple of gallons of water and your black tank chemical. This will keep any buildup you have on the bottom of the tank from hardening and keep the odor under control.
A note about holding tank level monitors. There are two main types of monitors, internal and external. Most RVs have an internal style. As you can imagine they get caked with debris and read incorrectly. Both of my previous rigs had internal sensors and I could dump and thoroughly clean my holding tanks but they would still read full or partially full. My Airstream had external sensors and it is quite accurate. I will never understand why the entire industry doesn’t use them.
You can use a holding tank cleaner to clean the sensors. See the post below.
How to Get Rid of Black Tank Buildup
Holding Tank Tips
- Never leave your black tank valve open to drain freely. The only time it should be open is when you are flushing it.
- It’s okay to leave your gray tank open when you have hookups however, you should close the valve and let it fill before you flush your black tank so you can rinse out your sewer hose after you finish flushing the black tank.
- Never open the gray tank and the black tank at the same time. Waste can backflush into the gray tank and cause odors.
- Never use your freshwater hose to flush your black tank and never use your black tank flush hose for freshwater. This contamination can make you very ill.
- It’s always a good idea to clean the hose connections for your freshwater. I keep a can of disinfecting spray in my outside storage bay. I spray the connections and wait for a couple of minutes before hooking things up.
- Wait for your tanks to stop draining before closing the valves. Bits of waste can get caught in the gate valve and cause them to leak. That’s nasty.
- You don’t need to use expensive RV toilet paper. Just use a single ply paper and you’ll be fine. I use Scott and have for years with no problems.
You might also like, How To Get Rid of Black Tank Buildup.
If you like this post, please pin it.
Thankfully, our motorhome has a tank clean out connection. I don’t know it the sprayer nozzle is directed at the internal tank sensors, but about 5 minutes of full flow rinsing will get the sensors reading correctly again without even using sensor cleaning chemicals, which is nice.
Incidentally, Happy Camper sensor cleaning chemical directions tell the user to run pressure water through the cleanout connection for 30 minutes. I had non-functioning sensors and soaked them in Happy Camper sensor cleaner for 5 days with no improvement until I blasted them with the clean out hose. I’m not saying the Happy Camper didn’t help, but that you really do need to blast with rinse water to achieve the best effect.
Best wishes to all.
Thanks for offering that helpful information. I’m so happy with my SeaLevel sensors. I’ll install them in any other RV I own. I’m not sure why the industry doesn’t move to them but I’m guessing cost is the number one factor.